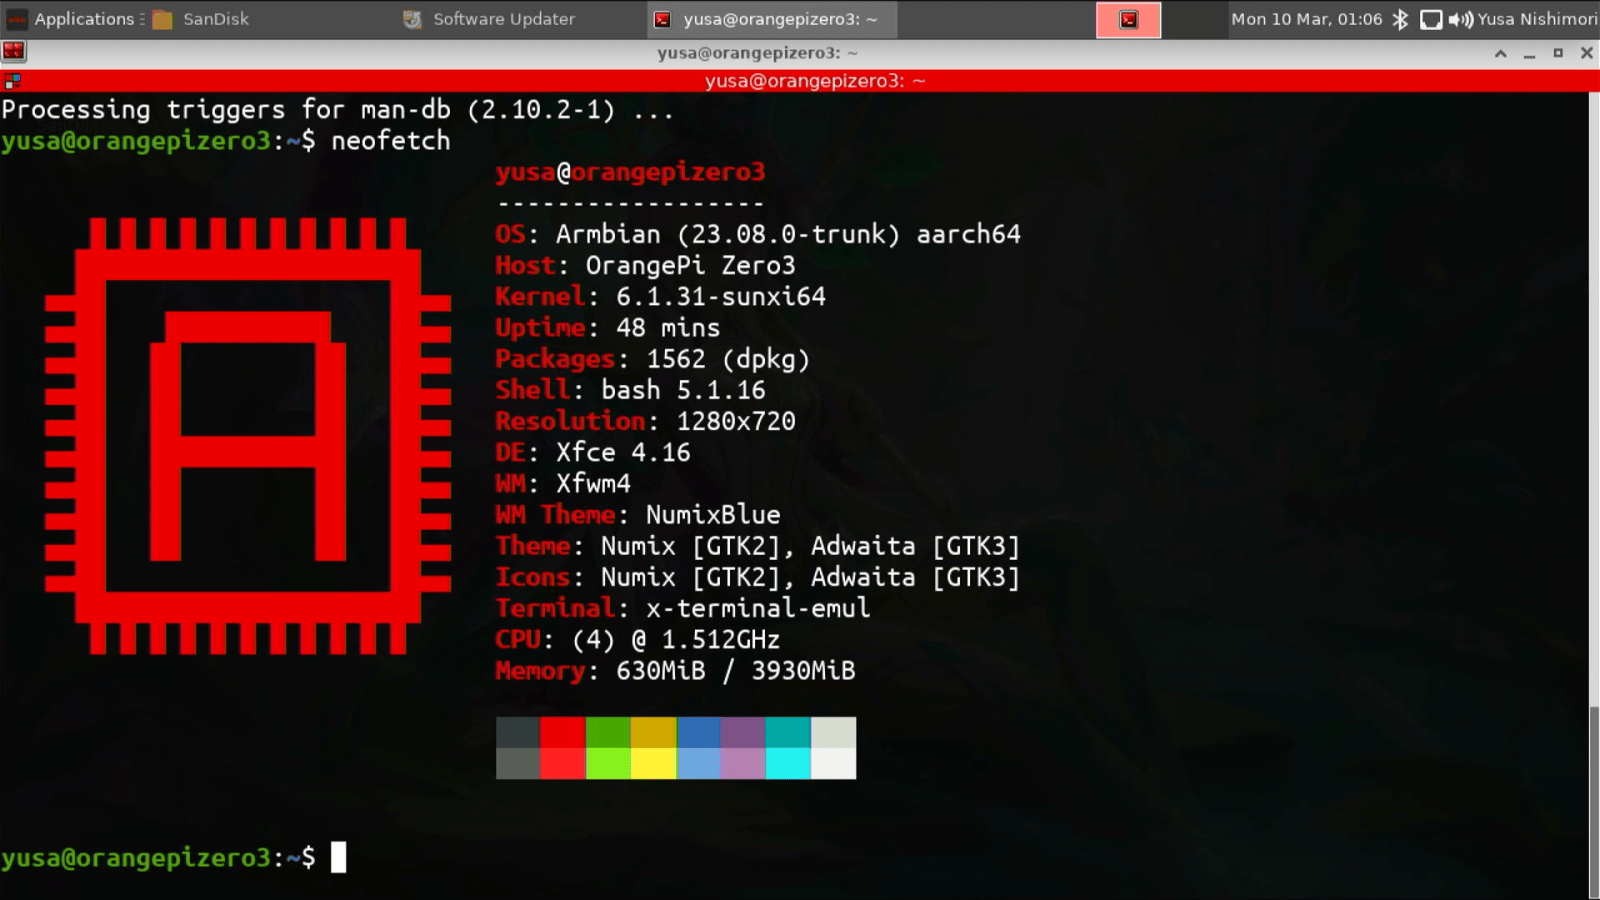
Install Armbian 23 Xfce on Orange Pi Zero 3
The Orange Pi Zero 3 is a low-cost single-board computer (SBC) that’s powerful enough to serve as a lightweight server, mini desktop, or IoT project. However, the manufacturer’s default operating system often has limited support and updates.
Armbian offers a more stable, community-supported alternative, with a variety of desktop environments and minimal versions to choose from. In this guide, we’ll walk through how to install Armbian 23 with the Xfce desktop environment on the Orange Pi Zero 3. Xfce was chosen because it’s lightweight and responsive, making it ideal for devices with limited resources.
Tools and Materials
To follow this tutorial, you’ll need the following:
- Hardware:
• Orange Pi Zero 3
• MicroSD card (at least 8 GB, 16 GB or more recommended, Class 10/UHS-I)
• 5V/2A power adapter (USB Type-C)
• Monitor with HDMI input and a micro HDMI to HDMI cable
• Keyboard and mouse (USB)
• Optional: USB hub (if ports are limited)
- Software:
• Armbian 23 image for Orange Pi Zero 3 (at the time this blog post was written, it was still version 23; however, by the time this post was ready to be uploaded, a new version had been released)
• Image flashing tool (e.g., Balena Etcher, Raspberry Pi Imager, or `dd` on Linux)
• Unzip utility (if the Armbian file is in .xz or .zip format)
- Connections:
• Internet access (via Ethernet or Wi-Fi)
• Computer for downloading and preparing the Armbian image
Steps
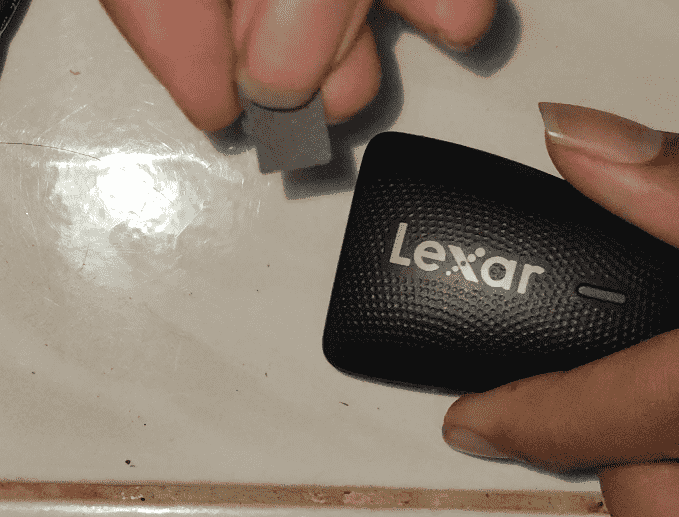
1. Insert the MicroSD card into the card reader, then plug the card reader into the computer
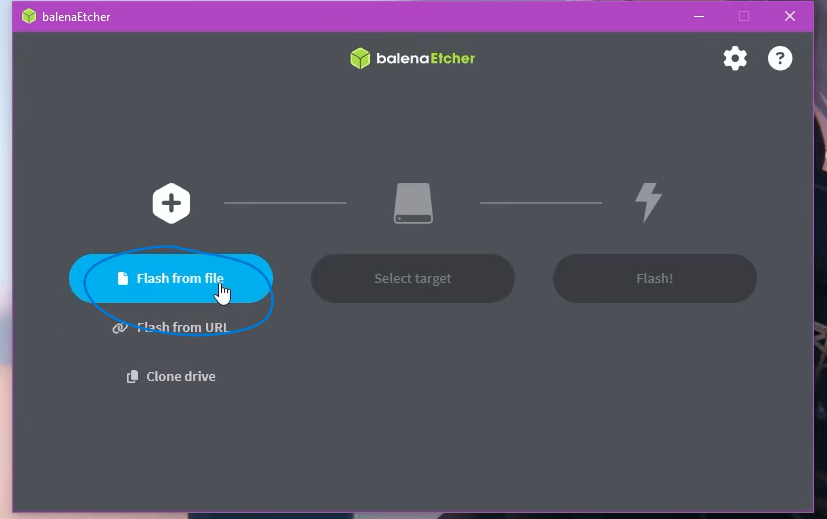
2. Open the “BalenaEtcher” application; if you don’t have it yet, please download it from https://etcher.balena.io/

3. Once the application is open, click “Flash from file”
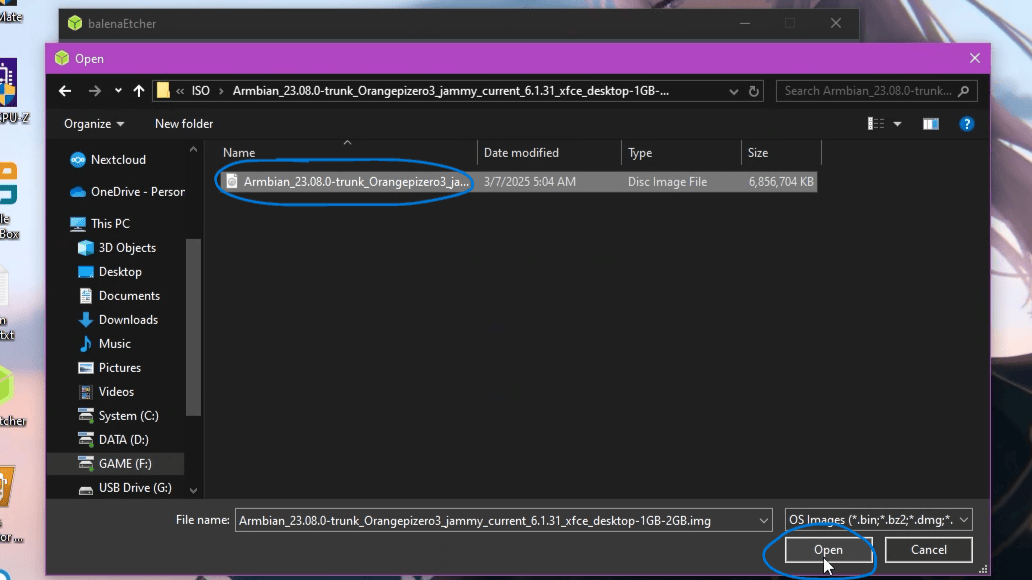
4. Then select the Armbian ISO file you downloaded from the official Armbian website https://www.armbian.com/orange-pi-zero-3/
5. Next, click “Select Target”
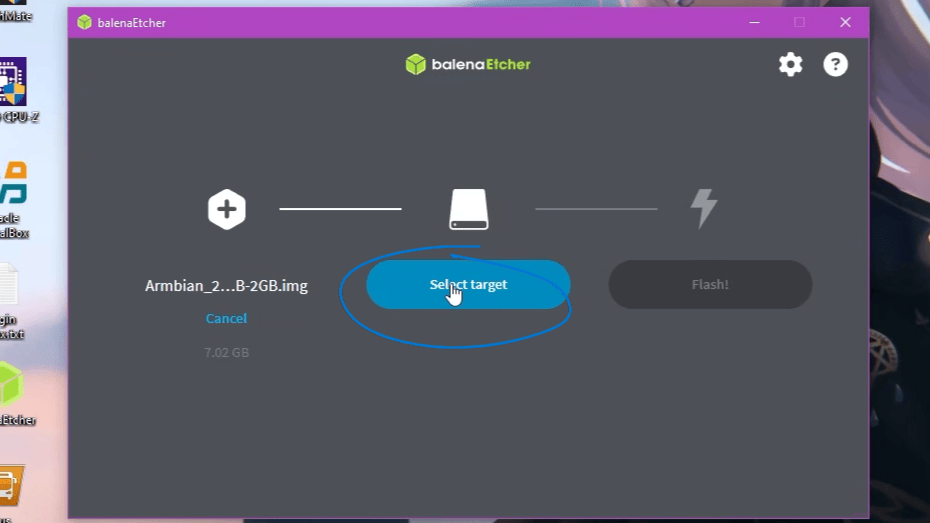
6. Then select the microSD card that you previously inserted into the card reader. This process will erase all data on the microSD card, so make sure your data has been backed up or transferred
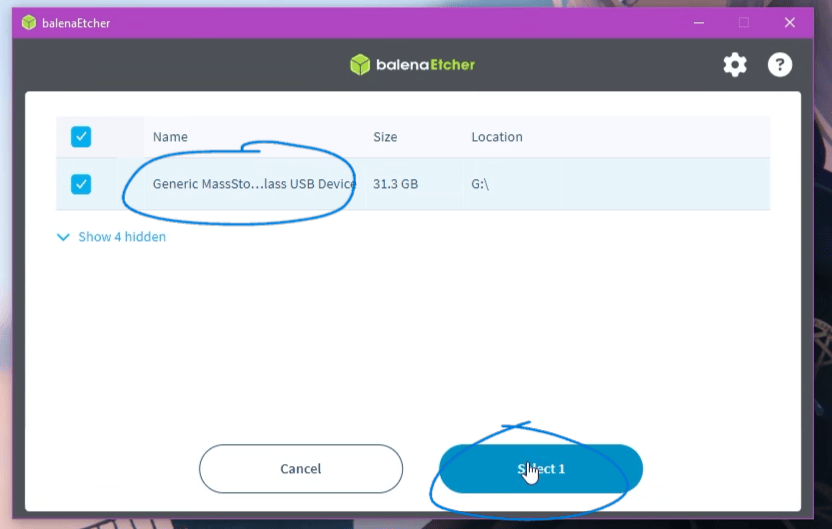
7. Once everything is confirmed to be correct, click “Flash”
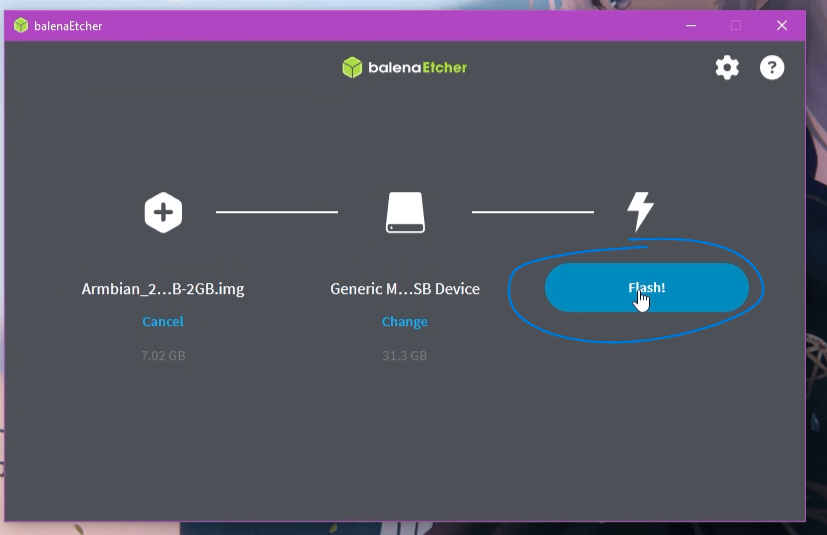
8. Please wait until the process is complete
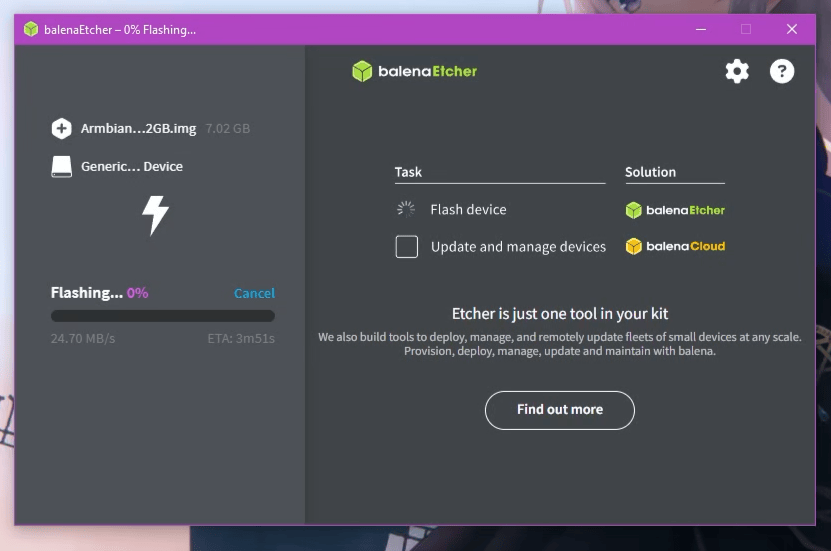
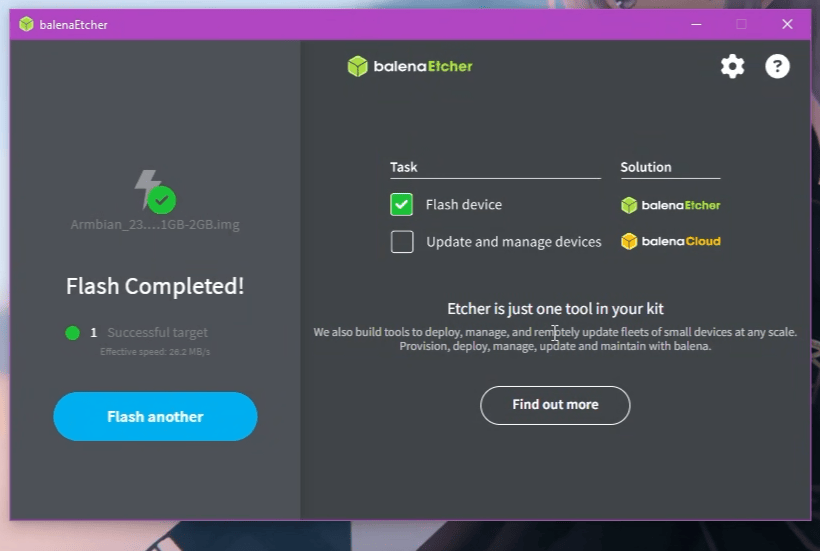
Adding the DTB File
At this stage, I actually don't know whether this step can be skipped or not, so for those of you who are practicing, try skipping this step (Step 1 - 3, start from step 4).
1. In this step, you’ll need to download the Orange Pi Zero 3 DTB file from the GitHub link and select the version that matches your model. Since mine has 4GB of RAM, I downloaded the 4GB version: https://github.com/leeboby/opizero3-uboot-dtb
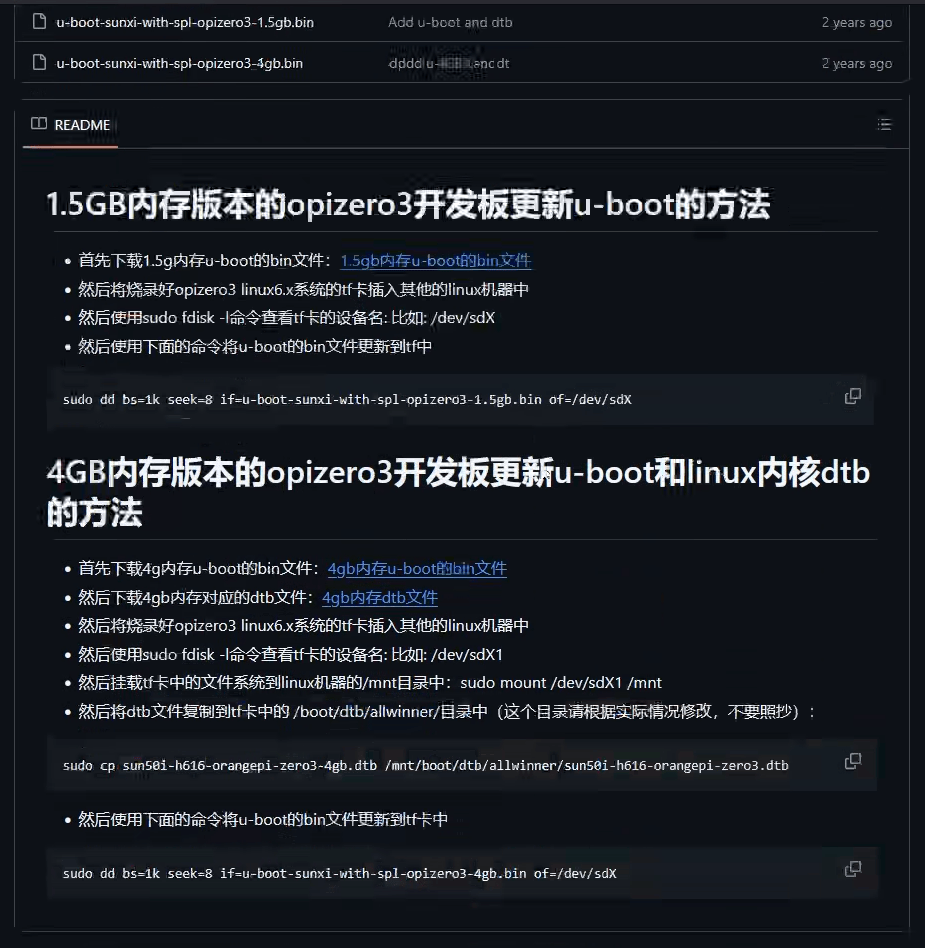
2. At this point, we need an application to read EXT4-formatted disks because Windows cannot read EXT4 by default. Here, I’m using a Linux VM and have mounted the MicroSD card to that VM
3. Follow the tutorial on GitHub by replacing the `sun50i-h616-orangepi-zero3.dtb` file in the `armbi_root` directory with `sun50i-h616-orangepi-zero3-4gb.dtb`. The original filename is `sun50i-h616-orangepi-zero3.dtb`
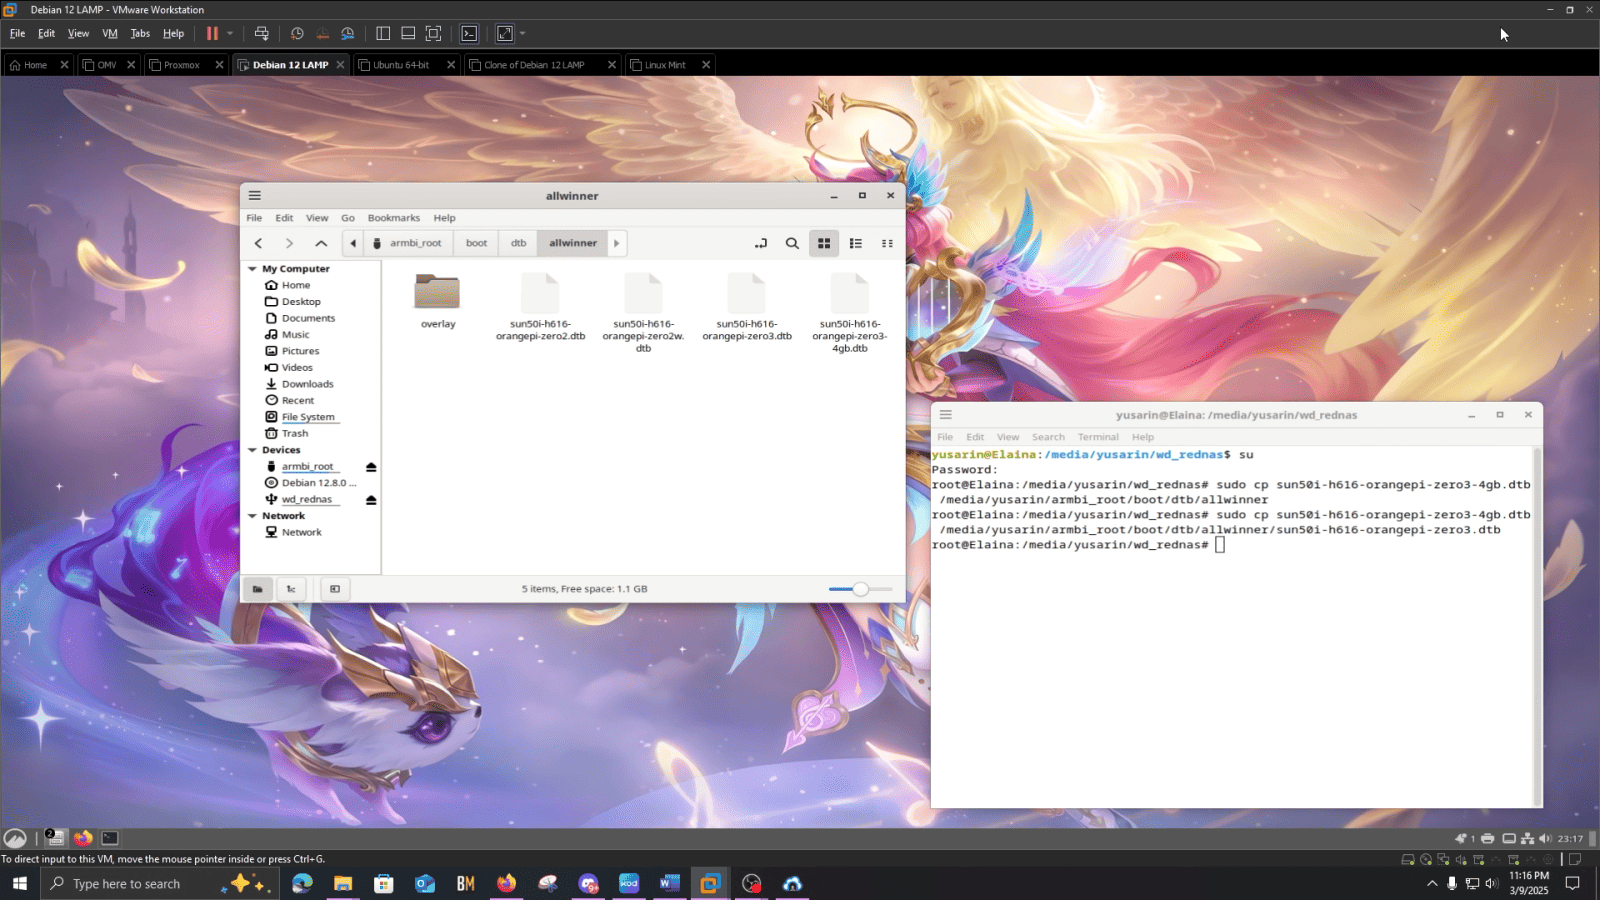
4. Once done, remove the MicroSD card from the computer and insert it into the Orange Pi Zero 3
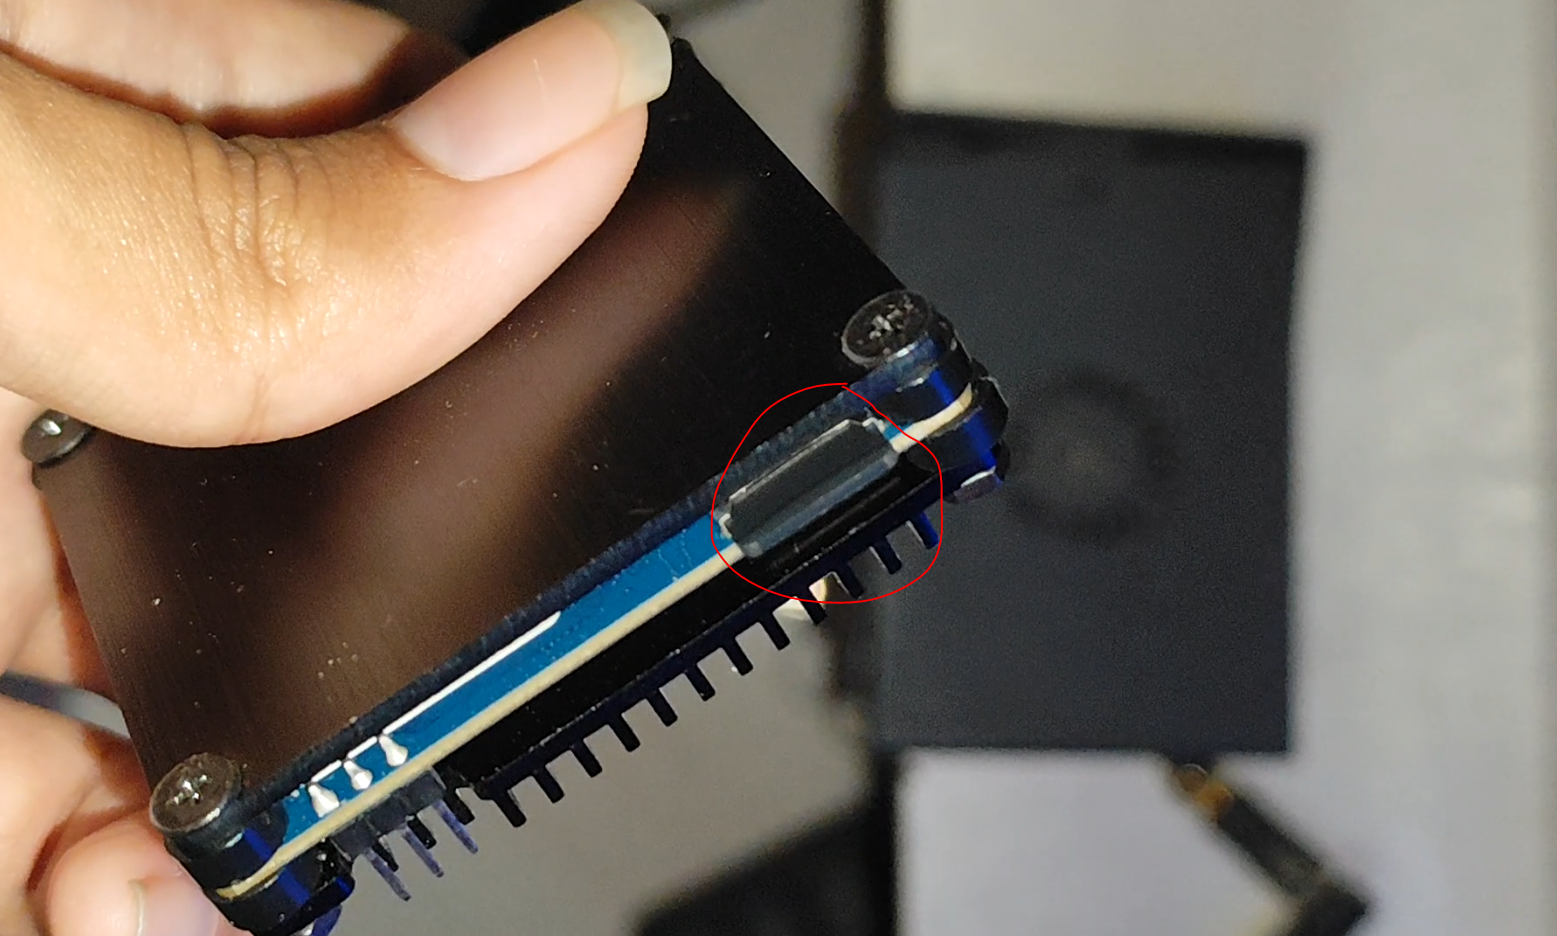
5. Also connect other peripherals, such as the power supply, keyboard, Ethernet cable, and HDMI cable to the monitor
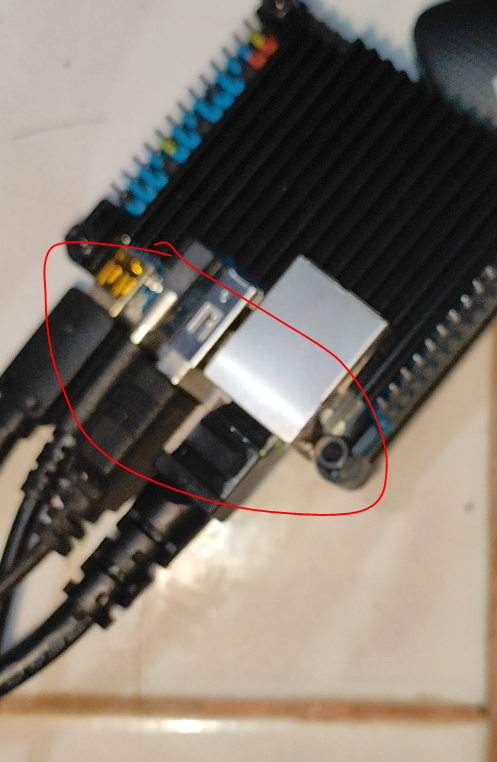
6. The Orange Pi Zero 3 will boot
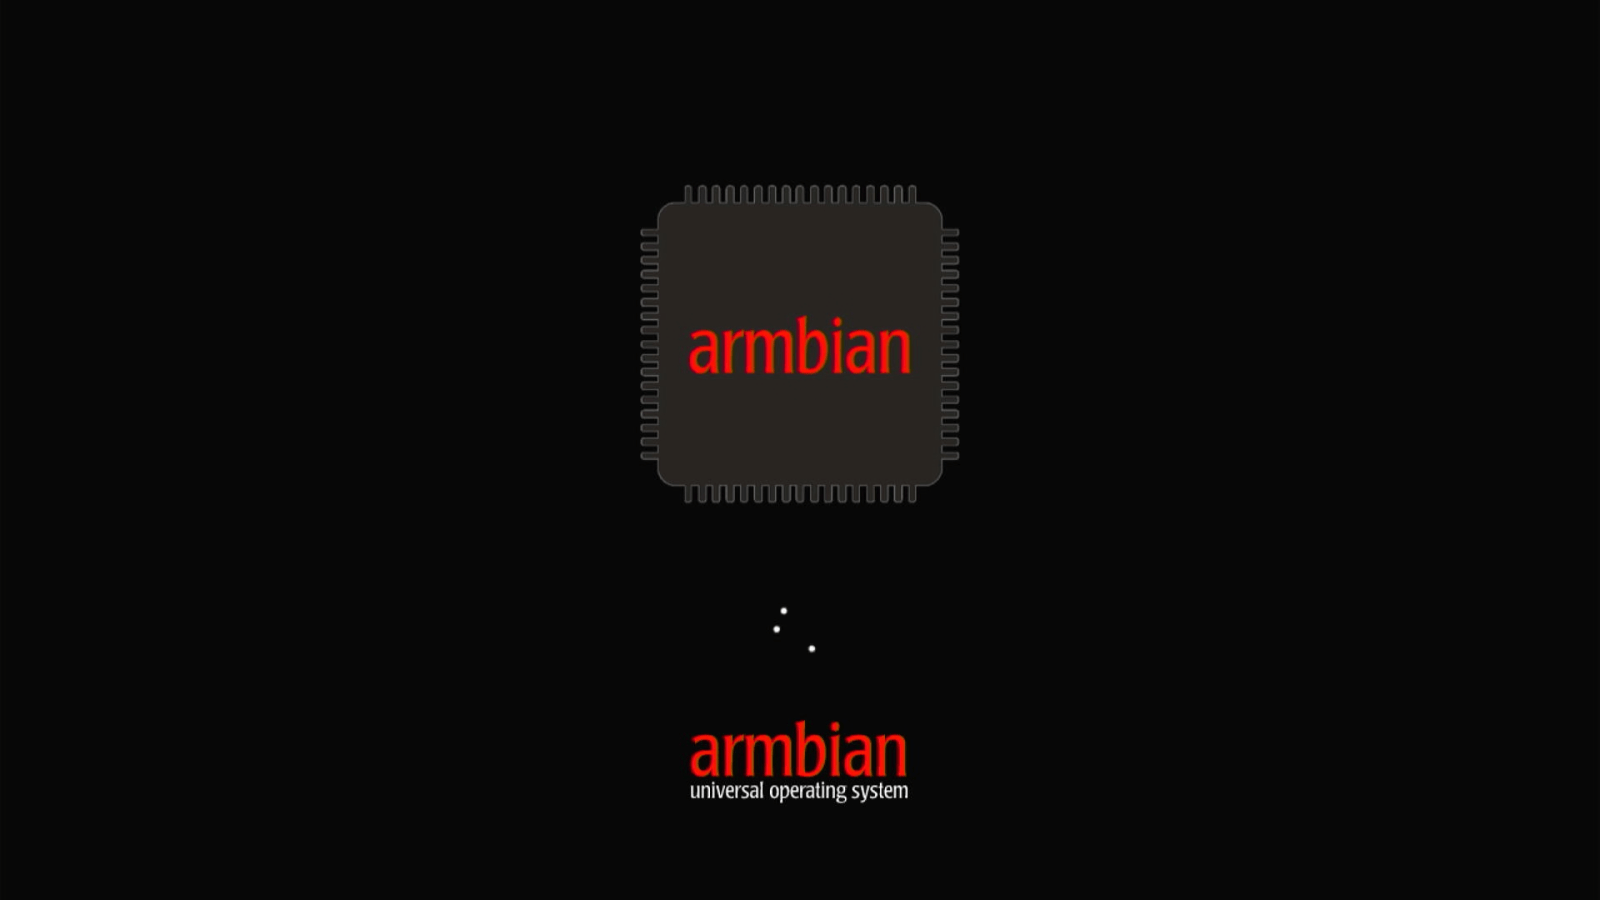
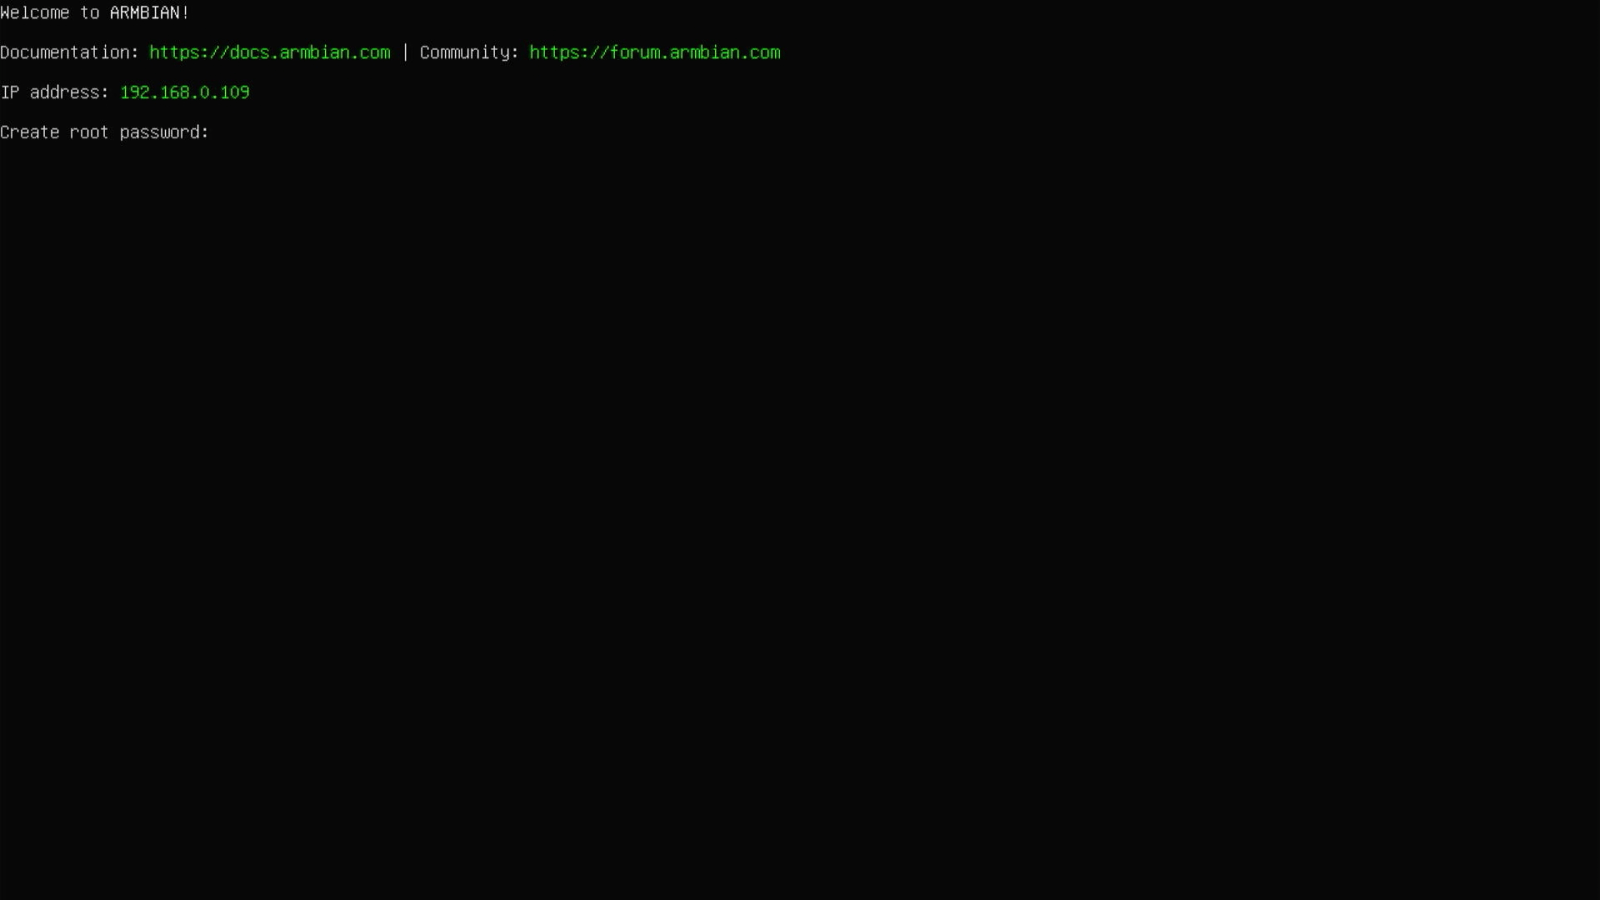
7. On this screen, you’ll be prompted to enter the root password
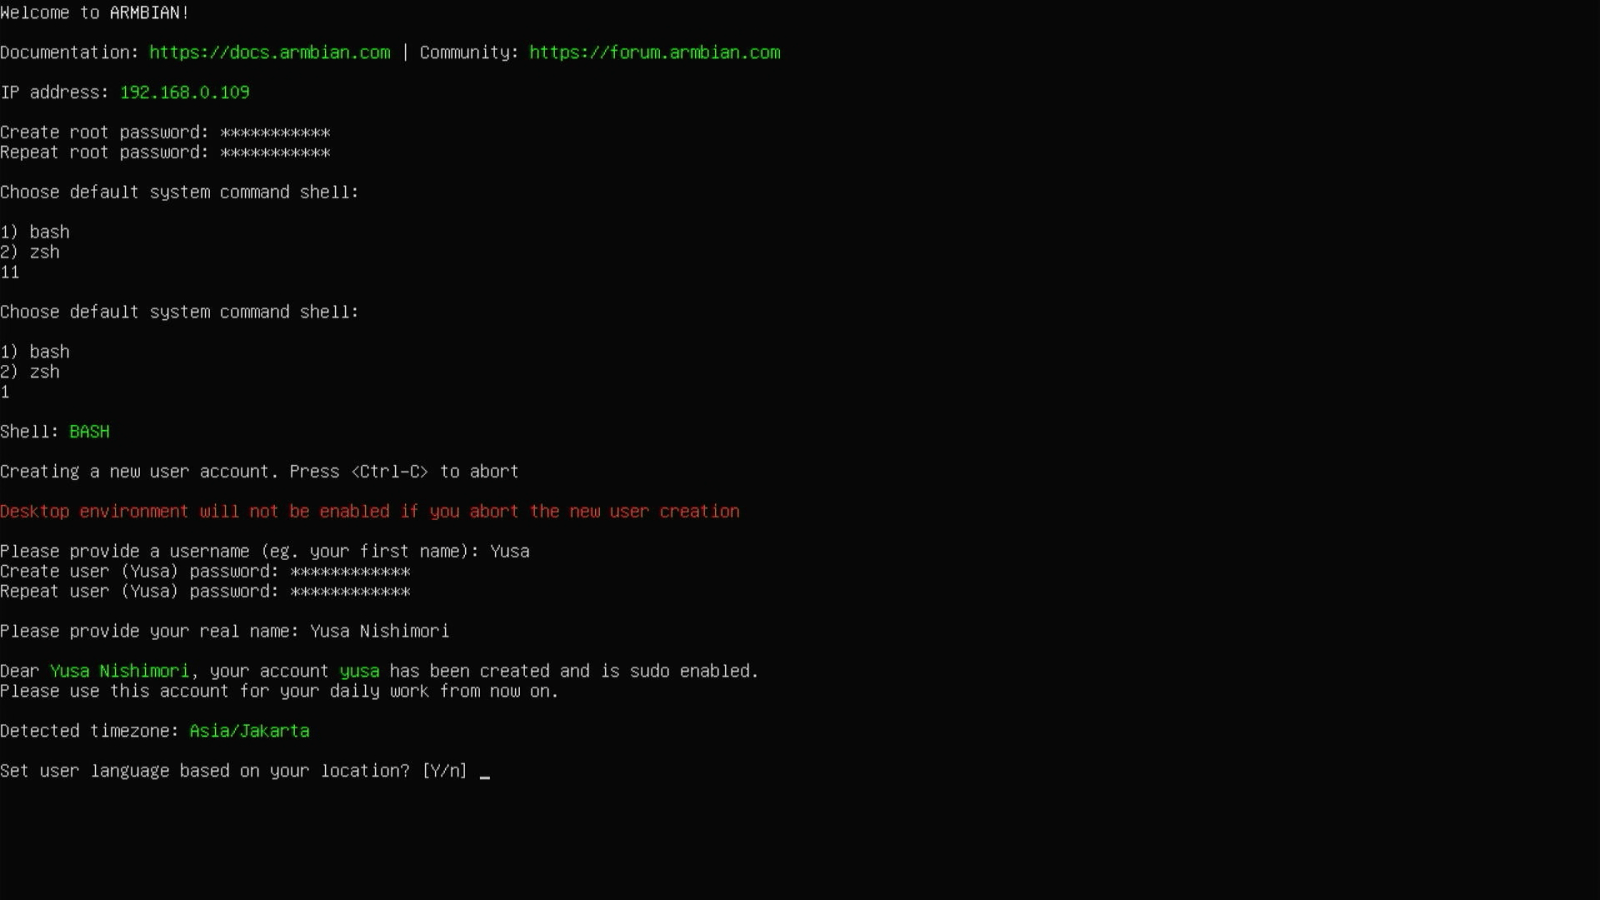
8. At this stage, you’ll be prompted to configure several settings, such as username, language, location, and more
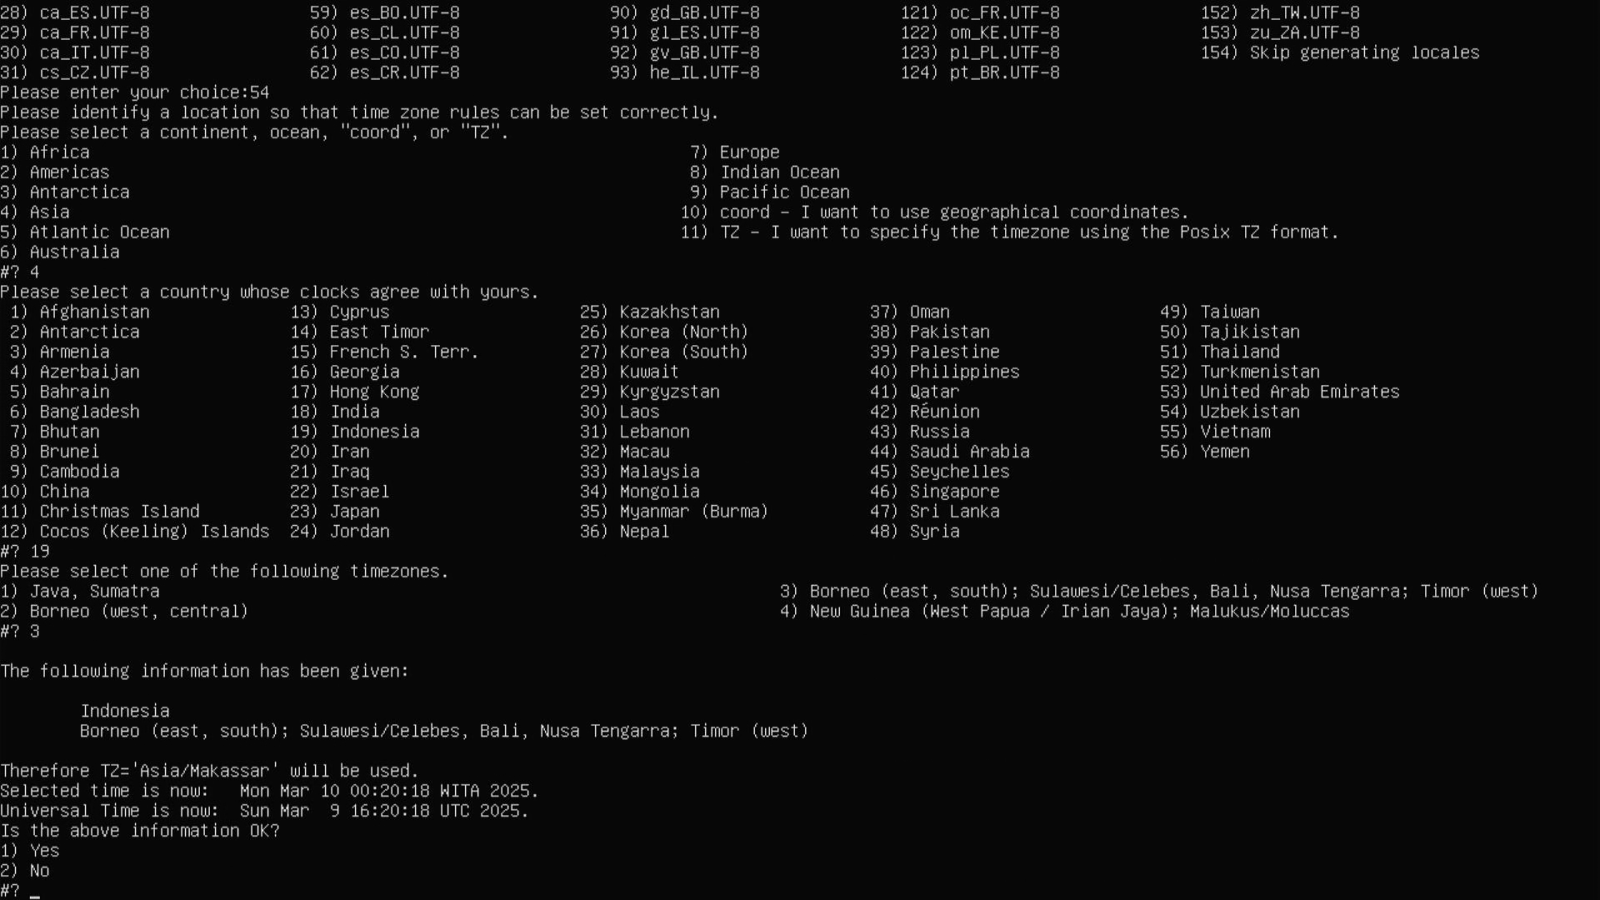
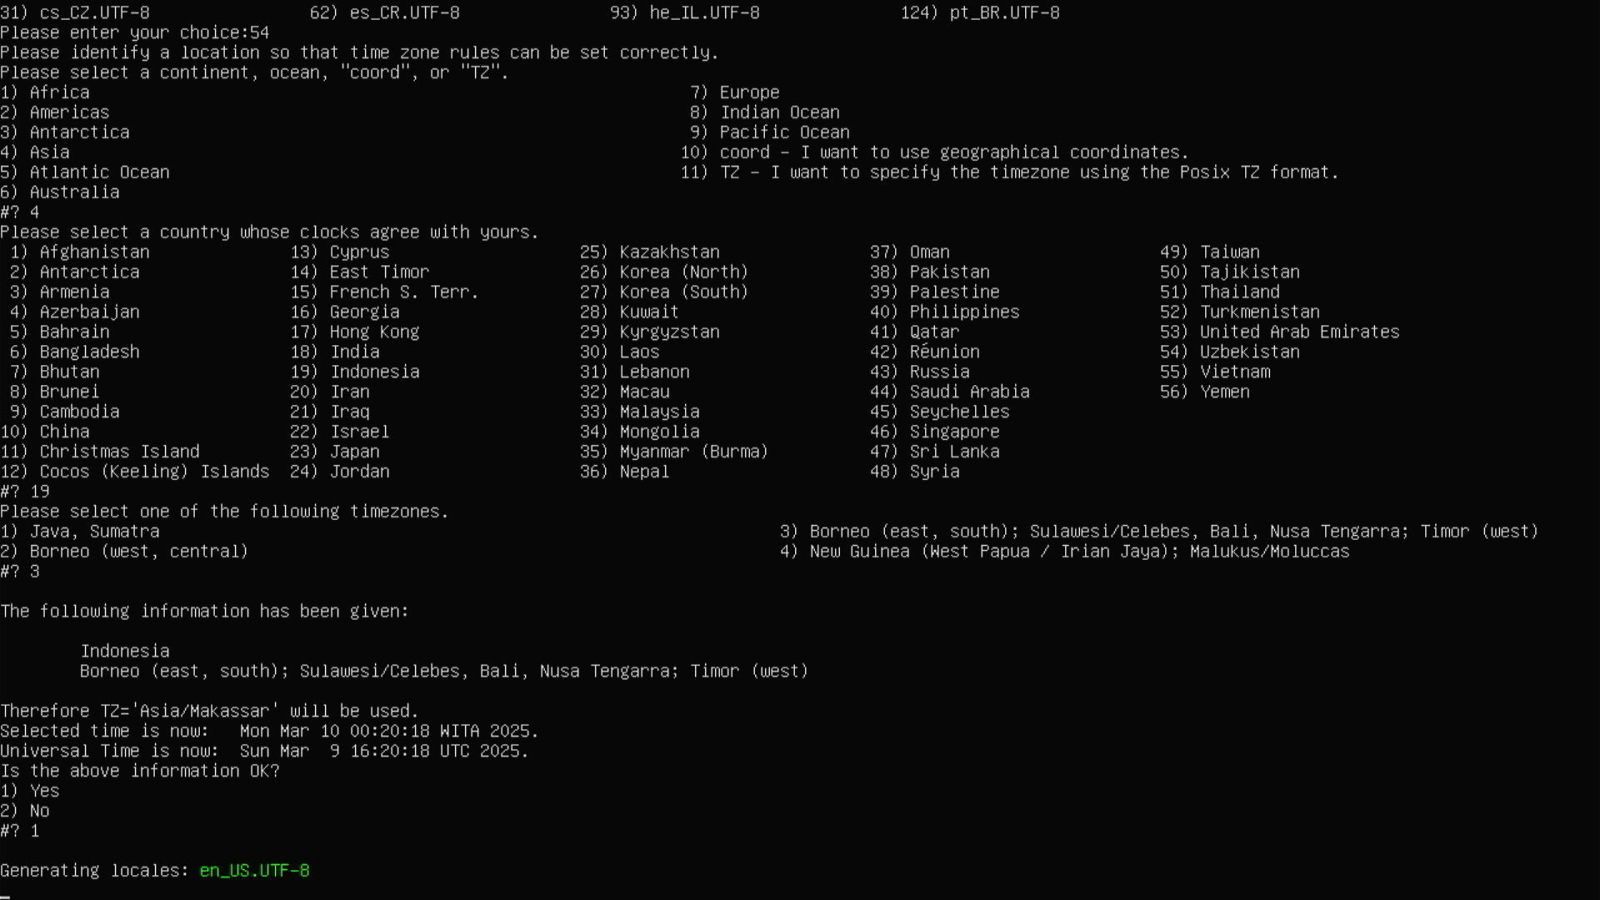
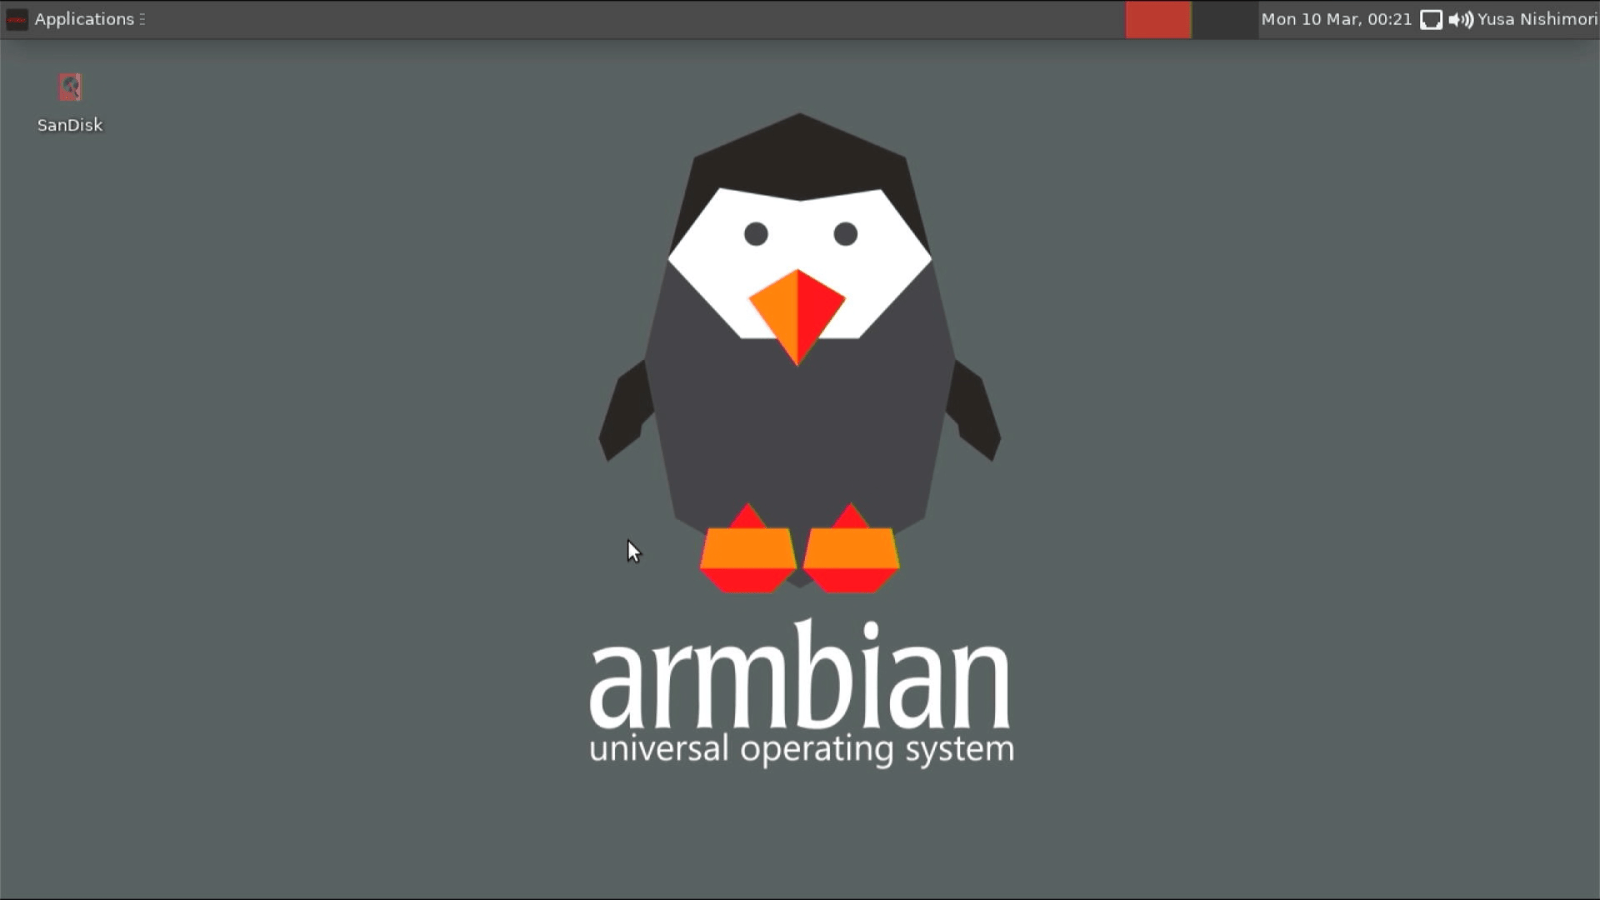
9. Once finished, the Armbian Xfce home screen will appear
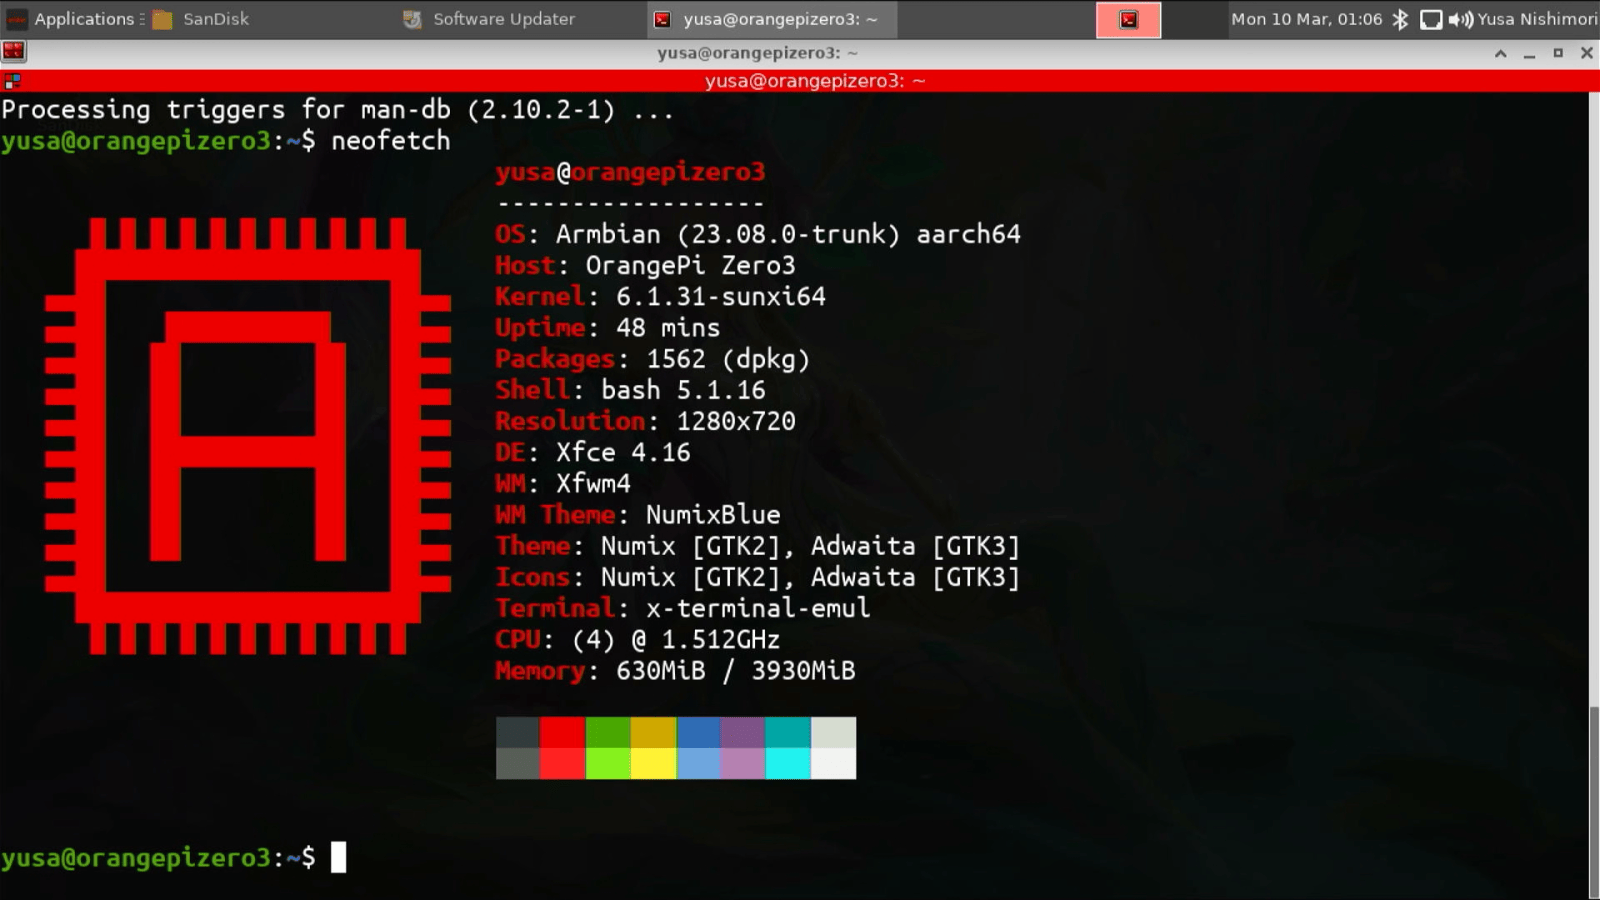
10. Final result
Conclusion
Installing Armbian 23 Xfce on the Orange Pi Zero 3 is a great first step toward maximizing the potential of this tiny board. With the lightweight Xfce desktop interface, you can enjoy an experience similar to that of a mini-computer—responsive enough for basic tasks like web browsing, light coding, or running a local server.
The installation process is quite simple and doesn’t take long if you have all the necessary tools and materials ready. Armbian is also known for its stability and has good update support through the open-source community, making it ideal for long-term use.
After installation, you can immediately start experimenting as needed—whether turning it into a lightweight media center, a Nextcloud server, or even an ultra-power-efficient daily desktop.